Living Frugal
Composting for your Home Vegetable Garden
Composting is a process in which organic material is broken down by microorganisms. It's the presence of oxygen that makes it safe to be stored and applied to the home vegetable garden.
It's inexpensive and can be done by everyone to produce a beneficial natural fertilizer for your vegetable garden or farm. It is a natural alternative to the store bought chemical fertilizers.
Turning the pile will be the most work for you. To ensure the pile is manageable, make the pile 3'x3'x3'. This keeps it large enough so the heat transforms it, yet small enough you can still turn it with little effort.
- Composting is a degradation process activated by bacteria and fungus.
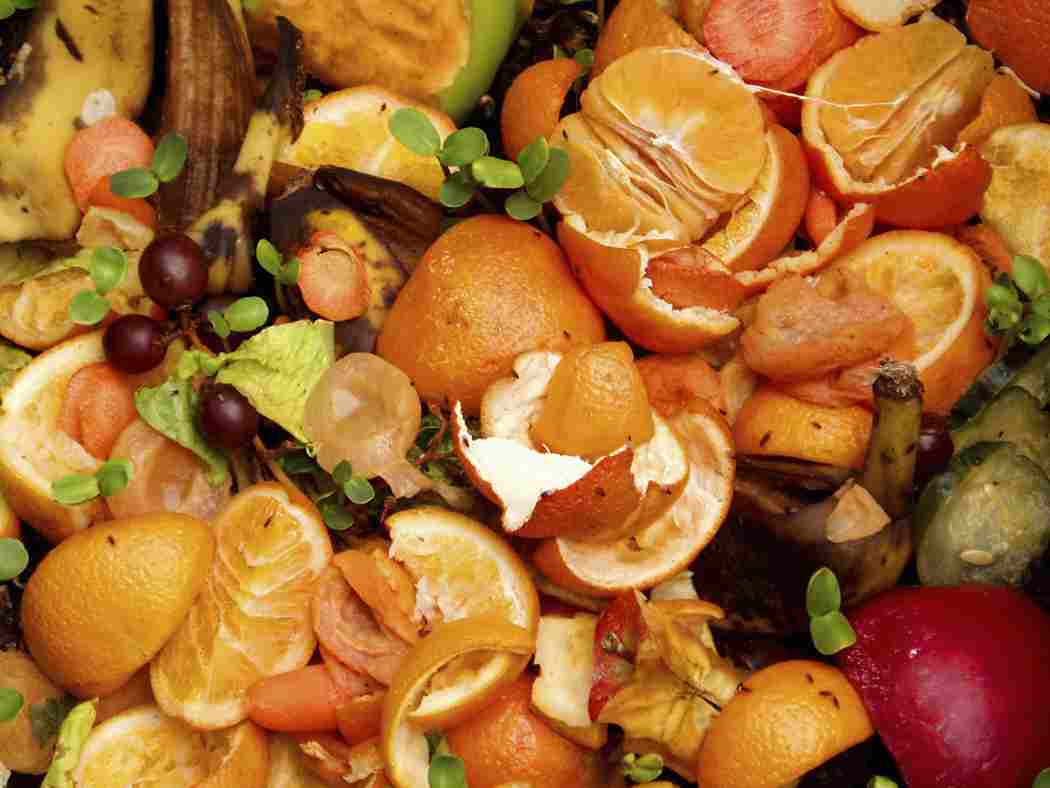
- To create a pile of black, crumbly humus in a short period of time, you'll want to use lots of organic kitchen, garden, lawn and/or farm refuse.
- This makes an ideal soil conditioner. Adding it regularly to the soil will benefit the soil in many ways. The soil's structure will improve in your home vegetable garden since humus contains substances that cause the sticking together of the soil particles.
What materials to use?
|
|
To reduce and mask odors, it is best to add a layer of garden soil to the pile. It will also add necessary microorganisms to speed up the decomposition process.
Do Not Use the following
|
|
Start the Compost Pile
- Start the pile on the bare soil. This will allow for worms to aerate the compost.
- Start with straw or small twigs as the first couple inches of the pile. This will allow the necessary drainage and aeration for the pile.
- Add the additional materials in layers to the pile. Alternate the moist and dry components.
- Add manure to activate the pile. This is the nitrogen that speeds up the composting process. Add a thin layer of leaves or grass clippings as the top layer. This will help keep things balanced and reduce odor.
- Cover the pile with wood or plastic to help retain moisture and heat. Covering keeps the pile from getting too much water from rain.
- Turn the pile every 2 weeks to help with aeration.
Watering the Pile
- Water the pile as often as needed to keep the contents moist - but don't soak the pile.
- After a few days, the pile should heat up.
- The temperature increase will kill many weed seeds and harmful organisms in the pile.
- If the pile fails to heat, it's likely a lack nitrogen or moisture.
- The pile will also decrease in size after a few weeks if the ingredients are degrading properly.
All piles will contain both carbon and nitrogen. The pile should contain more carbon than nitrogen. If you use a third green material, it will allow the oxygen to nourish the organisms in the pile.
If you're unsure whether or not you have enough carbon, a good test is to test by smell. If you uncover the pile and it stinks to high heavens, you have too much nitrogen. Add more carbon material to balance out the pile.
Branches, stems, dried leaves, wood chips, shredded brown paper bags, coffee filters, peat moss or egg shells all are carbon rich items to use in the pile.
Manure, food scraps (no meat), grass clippings and green leaves provide the carbon portion of your pile.
Compost should be added to your soil for a great source of organic nutrients for growing plants or flowers.
When is the Process Finished?
- When the compost is a dark, rich color and crumbles easily it is ready for your home vegetable garden.
- Make sure you can't pick out any of the original ingredients and it's not stringy and lumpy. If any of these are true, the pile needs more time for the decomposition process.
- Spread in a thick layer on the top of the garden soil.
When do you apply?
If the clay in your home vegetable garden feels sticky when it's wet and very hard when it's dry, it's time to apply some good compost.
You're home vegetable garden will appreciate all the work you put into the pile and reward you with great tasting vegetables.


